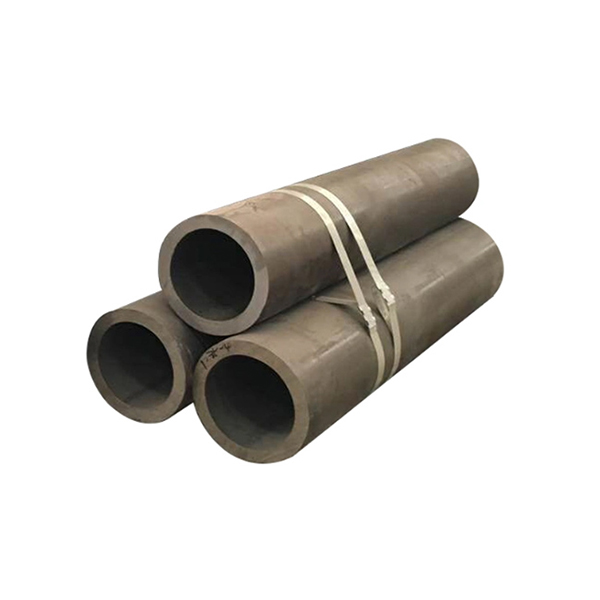
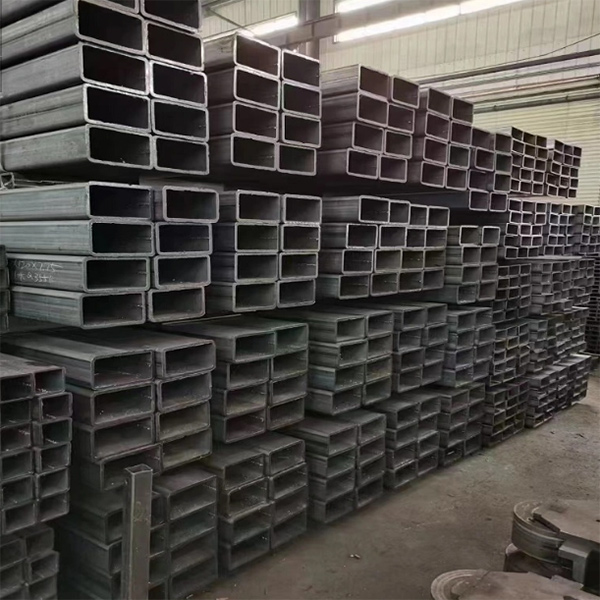
Special Design for Galvanized Square Tube - A513 square steel tube for fluid transport – Zheyi
Special Design for Galvanized Square Tube - A513 square steel tube for fluid transport – Zheyi Detail:
A513 Steel Square Tubing, Thick wall square steel pipe, large diameter square steel pipe, seamless square steel pipe, low alloy square steel pipe, 135*135*10 square steel pipe, tower crane square steel pipe, Q345B low alloy square steel pipe, 20# seamless square steel pipe
A513 Steel Square Tubing, As the name implies, it is a square shape of the tube, many kinds of material can form a square tube body, its medium in, what to use, where to use, most of the square tube to steel pipe for the majority, mostly for structural square tube, decoration square tube, building square tube and so on.
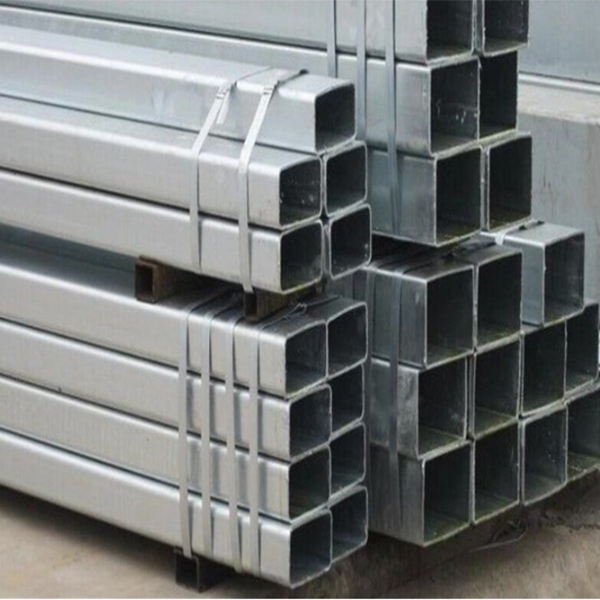
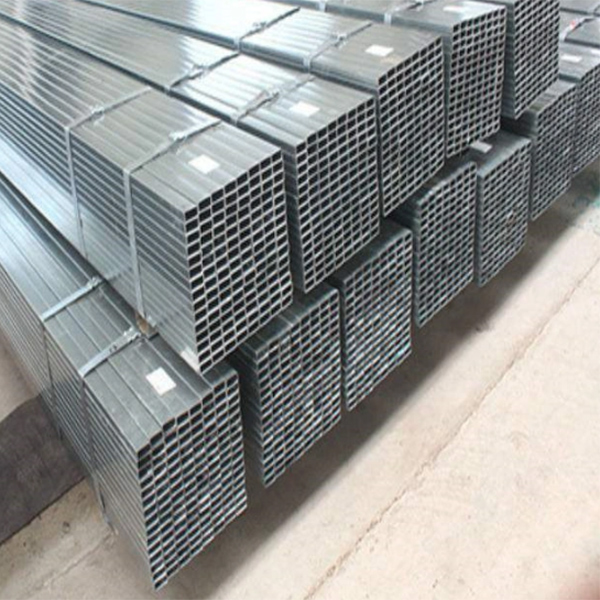
A513 Steel Square Tubing, It’s a name for a square tube, which is a tube of equal length. It is made of strip steel after processing and rolling. Generally, the strip is unpacked, leveled, crimped and welded into a round tube, which is rolled into a square tube and then cut into the required length. Usually 50 sticks per pack.
A513 Steel Square Tubing, There are seamless and weld points, seamless square tube is the seamless tube extrusion molding. Square steel pipe, thick wall square steel pipe, large diameter square steel pipe, seamless square steel pipe, low alloy square steel pipe, 135*135*10 square steel pipe, tower crane square steel pipe, Q345B low alloy square steel pipe, 20# seamless square steel pipe
1. Exponential performance analysis of square tubes – plasticity
Plasticity refers to the ability of a metal material to produce plastic deformation (permanent deformation) without damage under load.
2. Performance index analysis of square tube – hardness
Hardness is a gauge of how hard or soft a metal material is. At present, the most commonly used method to determine hardness in production is the indenter hardness method, which is to use a certain geometric shape of the indenter head under a certain load into the surface of the tested metal materials, according to the degree of the indenter to determine its hardness value.
Commonly used methods are Brinell hardness (HB), Rockwell hardness (HRA, HRB, HRC) and Vickers hardness (HV) and other methods.
3. Performance index analysis of square tube – fatigue
The strength, plasticity, and hardness discussed above are indicators of the mechanical properties of metals under static loading. In fact, many machine parts are operated under cyclic loads, and fatigue can occur under these conditions.
4. Performance index analysis of square pipe – impact toughness
The load acting on the parts at a high speed is called impact load, and the ability of metal to resist damage under impact load is called impact toughness.
5. Square pipe performance index analysis – strength square steel pipe, thick wall square steel pipe, large diameter square steel pipe, seamless square steel pipe, low alloy square steel pipe, 135*135*10 square steel pipe, tower crane square steel pipe, Q345B low alloy square steel pipe, 20# seamless square steel pipe
Strength is the ability of a metal material to resist failure (excessive plastic deformation or fracture) under static loading. Due to the mode of loading in the form of stretching, compression, bending, shearing, so the strength is also divided into tensile strength, compressive strength, bending strength, shear strength and so on. There is often a certain connection between various strengths, and tensile strength is generally used as the most basic strength pointer.
Size
| Size byInch (diameter) | Thickness | Sizes byMM (diameter) | Thickness |
| inch | inch | mm | mm |
| 1/2″ x 1/2″ | 0.065″ | 16mm×16mm | 0.4mm~1.5mm |
| 3/4″ x 3/4″ | 0.049″ | 18mm×18mm | 0.4mm~1.5mm |
| 0.065″ | 20mm×20mm | 0.4mm~3mm | |
| 0.083″ | 22mm×22mm | 0.4mm~3mm | |
| 0.120″ | 25mm×25mm | 0.6mm~3mm | |
| 1″ x 1″ | 0.049″ | 30mm×30mm | 0.6mm~4mm |
| 0.058″ | 32mm×32mm | 0.6mm~4mm | |
| 0.065″ | 34mm×34mm | 1mm~2mm | |
| 0.072″ | 35mm×35mm | 1mm~4mm | |
| 0.083″ | 38mm×38mm | 1mm~4mm | |
| 0.095″ | 40mm×40mm | 1mm~4.5mm | |
| 0.109″ | 44mm×44mm | 1mm~4.5mm | |
| 0.120″ | 45mm×45mm | 1mm~5mm | |
| 1 1/8″ x 1 1/8″ | 0.035″ | 50mm×50mm | 1mm~5mm |
| 0.049″ | 52mm×52mm | 1mm~5mm | |
| 0.065″ | 60mm×60mm | 1mm~5mm | |
| 0.109″ | 70mm×70mm | 2mm~6mm | |
| 0.120″ | 75mm×75mm | 2mm~6mm | |
| 1 1/4″ x 1 1/4″ | 0.049″ | 76mm×76mm | 2mm~6mm |
| 0.065″ | 80mm×80mm | 2mm~8mm | |
| 0.072″ | 85mm×85mm | 2mm~8mm | |
| 0.083″ | 90mm×90mm | 2mm~8mm | |
| 0.109″ | 95mm×95mm | 2mm~8mm | |
| 0.120″ | 100mm×100mm | 2mm~8mm | |
| 0.135″ | 120mm×120mm | 4mm~8mm | |
| 0.156″ | 125mm×125mm | 4mm~8mm | |
| 0.188″ | 130mm×130mm | 4mm~8mm | |
| 1 1/2″ x 1 1/2″ | 0.049″ | 140mm×140mm | 6mm~10mm |
| 0.065″ | 150mm×150mm | 6mm~10mm | |
| 0.072″ | 160mm×160mm | 6mm~10mm | |
| 0.083″ | 180mm×180mm | 6mm~12mm | |
| 0.109″ | 200mm×200mm | 6mm~30mm | |
| 0.120″ | 220mm×220mm | 6mm~30mm | |
| 0.140″ | 250mm×250mm | 6mm~30mm | |
| 0.188″ | 270mm×270mm | 6mm~30mm | |
| 0.250″ | 280mm×280mm | 6mm~30mm | |
| 1 3/4″ x 1 3/4″ | 0.065″ | 300mm×300mm | 8mm~30mm |
| 0.083″ | 320mm×320mm | 8mm~30mm | |
| 0.095″ | 350mm×350mm | 8mm~30mm | |
| 0.109″ | 380mm×380mm | 8mm~30mm | |
| 0.120″ | 400mm×400mm | 8mm~30mm | |
| 0.188″ | 420mm×420mm | 10mm~30mm | |
| 2″ x 2″ | 0.049″ | 450mm×450mm | 10mm~30mm |
| 0.065″ | 480mm×480mm | 10mm~30mm | |
| 0.083″ | 500mm×500mm | 10mm~30mm | |
| 0.109″ | 550mm×550mm | 10mm~40mm | |
| 0.120″ | 600mm×600mm | 10mm~40mm | |
| 0.145″ | 700mm×700mm | 10mm~40mm | |
| 0.165″ | 800mm×800mm | 10mm~50mm | |
| 0.188″ | 900mm×900mm | 10mm~50mm | |
| 0.250″ | 1000mm×1000mm | 10mm~50mm | |
| 0.312″ | |||
| 2 1/4″ x 2 1/4″ | 0.188″ | ||
| 0.250″ | |||
| 2 1/2″ x 2 1/2″ | 0.083″ | ||
| 0.109″ | |||
| 0.120″ | |||
| 0.188″ | |||
| 0.250″ | |||
| 0.312″ |
| 3″ x 3″ | 0.083″ |
| 0.120″ | |
| 0.188″ | |
| 0.250″ | |
| 0.312″ | |
| 0.375″ | |
| 3 1/2″ x 3 1/2″ | 0.120″ |
| 0.188″ | |
| 0.250″ | |
| 0.312″ | |
| 0.375″ | |
| 4″ x 4″ | 0.083″ |
| 0.120″ | |
| 0.156″ | |
| 0.188″ | |
| 0.250″ | |
| 0.312″ | |
| 0.375″ | |
| 0.500″ |
| 4 1/2″ x 4 1/2″ | 0.188″ |
| 0.250″ | |
| 0.312″ | |
| 0.375″ | |
| 5″ x 5″ | 0.188″ |
| 0.250″ | |
| 0.312″ | |
| 0.375″ | |
| 0.500″ | |
| 6″ x 6″ | 0.188″ |
| 0.250″ | |
| 0.312″ | |
| 0.375″ | |
| 0.500″ | |
| 0.625″ | |
| 7″ x 7″ | 0.188″ |
| 0.250″ | |
| 0.312″ | |
| 0.375″ | |
| 0.500″ | |
| 0.625″ |
| 8″ x 8″ | 0.188″ |
| 0.250″ | |
| 0.312″ | |
| 0.375″ | |
| 0.500″ | |
| 0.625″ | |
| 9″ x 9″ | 0.188″ |
| 0.250″ | |
| 0.312″ | |
| 0.375″ | |
| 0.500″ | |
| 0.625″ | |
| 10″ x 10″ | 0.188″ |
| 0.250″ | |
| 0.312″ | |
| 0.375″ | |
| 0.500″ | |
| 0.625″ | |
| 12″ x 12″ | 0.250″ |
| 0.312″ | |
| 0.375″ | |
| 0.500″ | |
| 0.625″ | |
| 14″ x 14″ | 0.312″ |
| 0.375″ | |
| 0.500″ | |
| 0.625″ | |
| 16″ x 16″ | 0.312″ |
| 0.375″ | |
| 0.500″ | |
| 0.625″ |
Chemical Composition Of Material
| Grade | element | C | Mn | P | S |
| ASTM A500 Gr.b | % | 0.05%-0.23% | 0.3%-0.6% | 0.04% | 0.04% |
| Acc.to EN10027/1 | Acc.to EN10027/2 | C% max (Norminal W.T.(mm) | Si% max | Mn% max | P% max | S% max | N% max | |
| and IC 10 | ≤ 40 | |||||||
| S235JRH | 1.0039 | 0.17 | 0.20 | - | 1.40 | 0.045 | 0.045 | 0.009 |
| S275JOH | 1.0149 | 0.20 | 0.22 | - | 1.50 | 0.040 | 0.040 | 0.009 |
| S275J2H | 1.0138 | 0.20 | 0.22 | - | 1.50 | 0.035 | 0.035 | - |
| S355JOH | 1.0547 | 0.22 | 0.22 | 0.55 | 1.60 | 0.040 | 0.040 | 0.009 |
| S355J2H | 1.0576 | 0.22 | 0.22 | 0.55 | 1.60 | 0.035 | 0.035 | - |
Mechanical Properties Of Material
| Grade | Yield Strength | Tensile Strength | Elongation |
| A500.Gr.b | 46 ksi | 58 ksi | 23% |
| A513.GR.B | 72 ksi | 87 ksi | 10% |
| Norm | Yield Strength | Tensile Strength | Min.elogation | Min.percent properties | ||||||||
| Acc.to EN10027/1and IC 10 | Acc.to EN10027/2 | Norminal W.T.mm | Norminal W.T.mm | Longit. | Cross | Test temperature°C | Average min.impact value | |||||
| ≤16 | >6 | >40 | <3 | ≤3≤65 | Norminal W.T.mm | |||||||
| ≤65 | ≤65 | ≤40 | >40 | >40 | ≤65 | |||||||
| ≤65 | ≤40 | |||||||||||
| S253JRH | 1.0039 | 235 | 225 | 215 | 360-510 | 340-470 | 26 | 25 | 24 | 23 | 20 | 27 |
| S275JOH | 1.0149 | 275 | 265 | 255 | 410-580 | 410-560 | 22 | 21 | 20 | 19 | 0 | 27 |
| S275J2H | 1.0138 | 275 | 265 | 255 | 430-560 | 410-560 | 22 | 21 | 20 | 19 | -20 | 27 |
| S355JOH | 1.0547 | 355 | 345 | 335 | 510-680 | 490-630 | 22 | 21 | 20 | 19 | 0 | 27 |
| S355J2H | 1.0576 | 355 | 345 | 335 | 510-680 | 490-630 | 22 | 21 | 20 | 19 | -20 | 27 |
Equivalent Specfications
| EN 10210-1 | NF A 49501 NF A 35501 | DIN 17100 DIN 17123/4/5 | BS 4360 | UNI 7806 |
| S235JRH | E 24-2 | St 37.2 | - | Fe 360 B |
| S275JOH | E 28-3 | St 44.3 U | 43 C | Fe 430 C |
| S275J2H | E 28-4 | St 44.3 N | 43 D | Fe 430 D |
| S355JOH | E 36-3 | St 52.3 U | 50 C | Fe 510 C |
| S355J2H | E 36-4 | St 52.3 N | 50 D | Fe 510 D |
| S275NH | - | St E 285 N | - | - |
| S275NLH | - | TSt E 285 N | 43 EE | - |
| S355NH | E 355 R | St E 355 N | - | - |
| S355NLH | - | TSt E 355 N | 50 EE | - |
| S460NH | E 460 R | St E 460 N | - | - |
| S460NLH | - | TSt E 460 N | 55 EE | - |
- block letter “S” means “STEEL FOR STRUCTURAL APPLICATIONS”
- the next fi gure means the minim. yield value required for wall thickness ≤16 mm
- “J2″ means impact test value -20° C min. 27 joule
- block letter “H” means “HOLLOW SECTION”.
Product Display
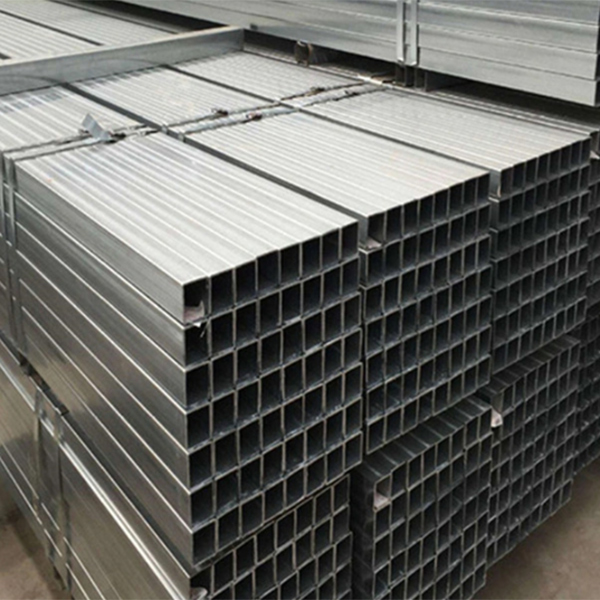

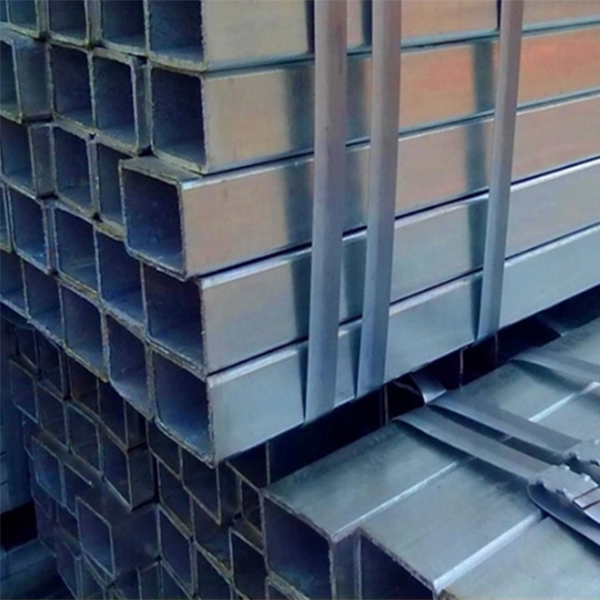
Product detail pictures:


Related Product Guide:
From the past few years, our firm absorbed and digested sophisticated technologies equally at home and abroad. Meanwhile, our organization staffs a group of experts devoted into the growth of Special Design for Galvanized Square Tube - A513 square steel tube for fluid transport – Zheyi , The product will supply to all over the world, such as: Doha, Malaysia, Brazil, Many goods fully conform to the most rigorous of international guidelines and with our first-rate delivery service you will have them delivered at any time and in any place. And because Kayo deals in the entire spectrum of protective equipment, our customers don't have to waste time shopping around.
In China, we have many partners, this company is the most satisfying to us, reliable quality and good credit, it is worth appreciation.

